


|
|
|
|
|
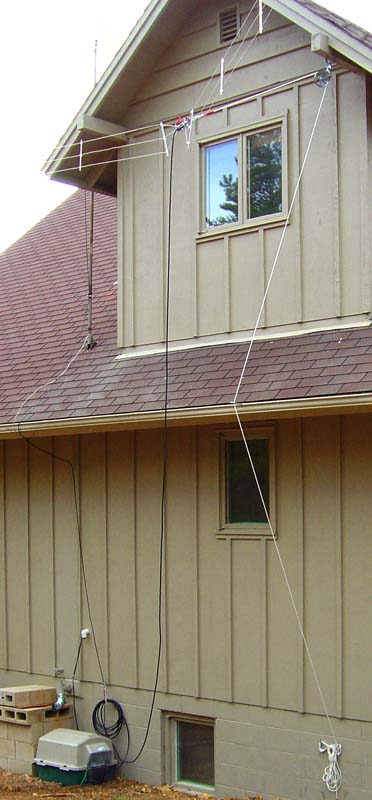
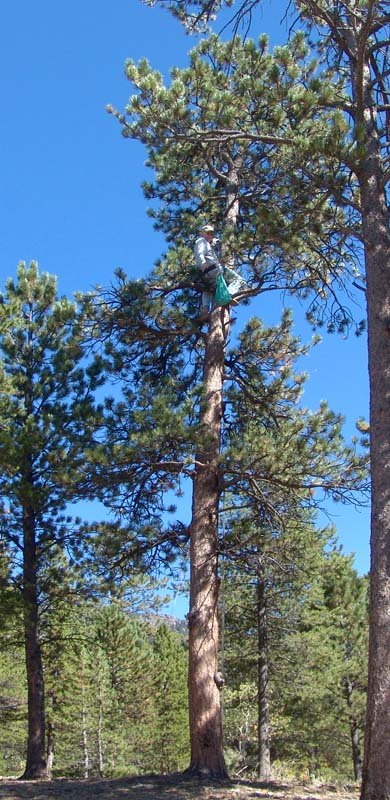
 The
idea of mounting the wire dipole antenna was to have the two outer ends attached to the upper
part of trees conveniently located. The
idea of mounting the wire dipole antenna was to have the two outer ends attached to the upper
part of trees conveniently located.
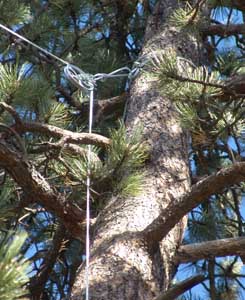
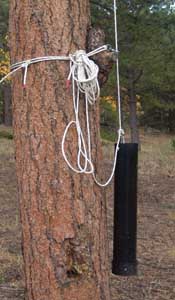 To
facilitate the access to the wires, I attached a pulley to the trunk and ran
the rope from the end of the antenna over the pulley down the tree trunk and
attached it to a tube filled with rocks. This way the antenna could stretch
and the tree could move without tearing each other apart. To
facilitate the access to the wires, I attached a pulley to the trunk and ran
the rope from the end of the antenna over the pulley down the tree trunk and
attached it to a tube filled with rocks. This way the antenna could stretch
and the tree could move without tearing each other apart. |
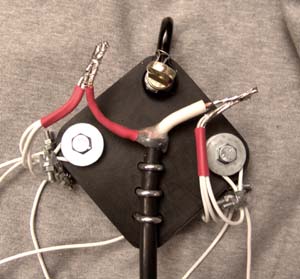
For the antenna wire, my choice after
evaluating a large number of options, was unshielded #14 WG aircraft
(MIL) grade wire which is a tin-plated stranded copper wire with Tefzel insulation.
 When
building my aircraft I found this wire and it's insulation to be extremely tough
but good to handle. When
building my aircraft I found this wire and it's insulation to be extremely tough
but good to handle.To keep the wires spaced, I used Plexiglas rods with tie-wraps to attach the wire. This way I could slide the spacers along the wire when adjusting them at tuning. I am aware that at an altitude of 9000 ft, the UV light would do it's job in damaging the integrity of some of the plastic. However, I was sure that I would eventually do some modifications. |
||
|
|
|||
|
|
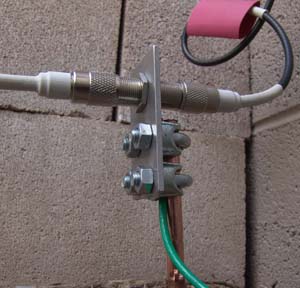
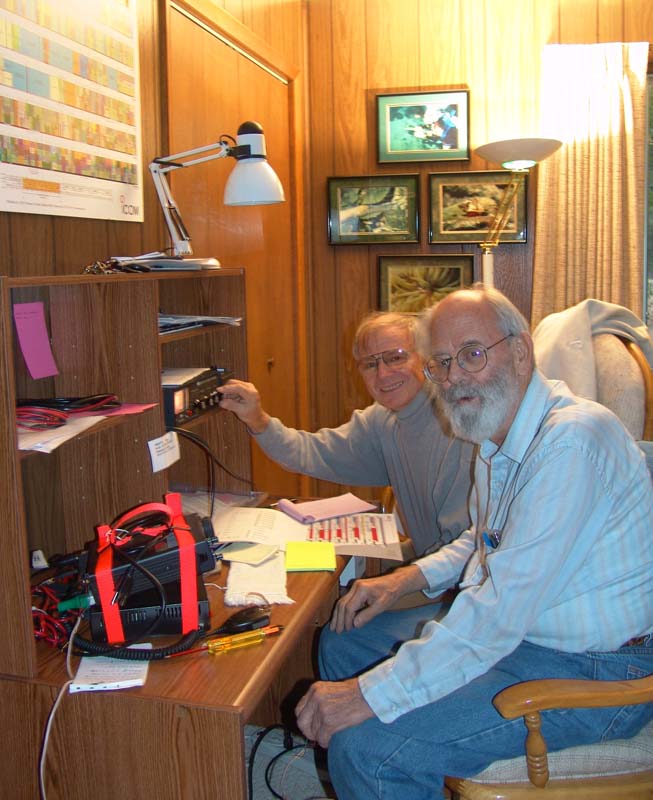
As there is always
a chance of lightning, not uncommon in the mountains, I built one of
Rip's grounding contraptions.
|
||
|
|
|
||
| ##2 see ARRL Handbook, chapter 21 "Transmission Lines" | |||
|
Response and suggestions are appreciated to [email protected] This page was serviced last on 12. July 2008
|