|
||
|
|
|
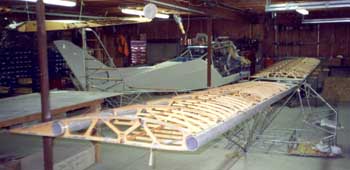
Building the Wings |
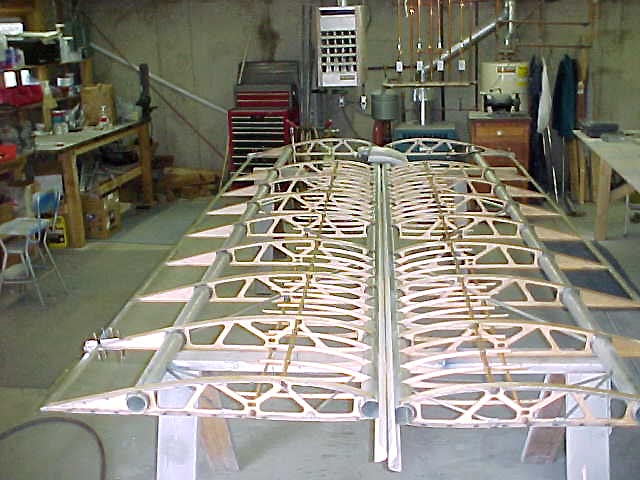  Assembling
the wings was not too big a deal except that the dimensions became bigger
and accuracy of alignment became more critical. No garage floor is
completely level without some warps. The leg length of the saw horses had to be
adjusted and finally nailed to the floor so that they wouldn't
accidentally move about while working. Assembling
the wings was not too big a deal except that the dimensions became bigger
and accuracy of alignment became more critical. No garage floor is
completely level without some warps. The leg length of the saw horses had to be
adjusted and finally nailed to the floor so that they wouldn't
accidentally move about while working.
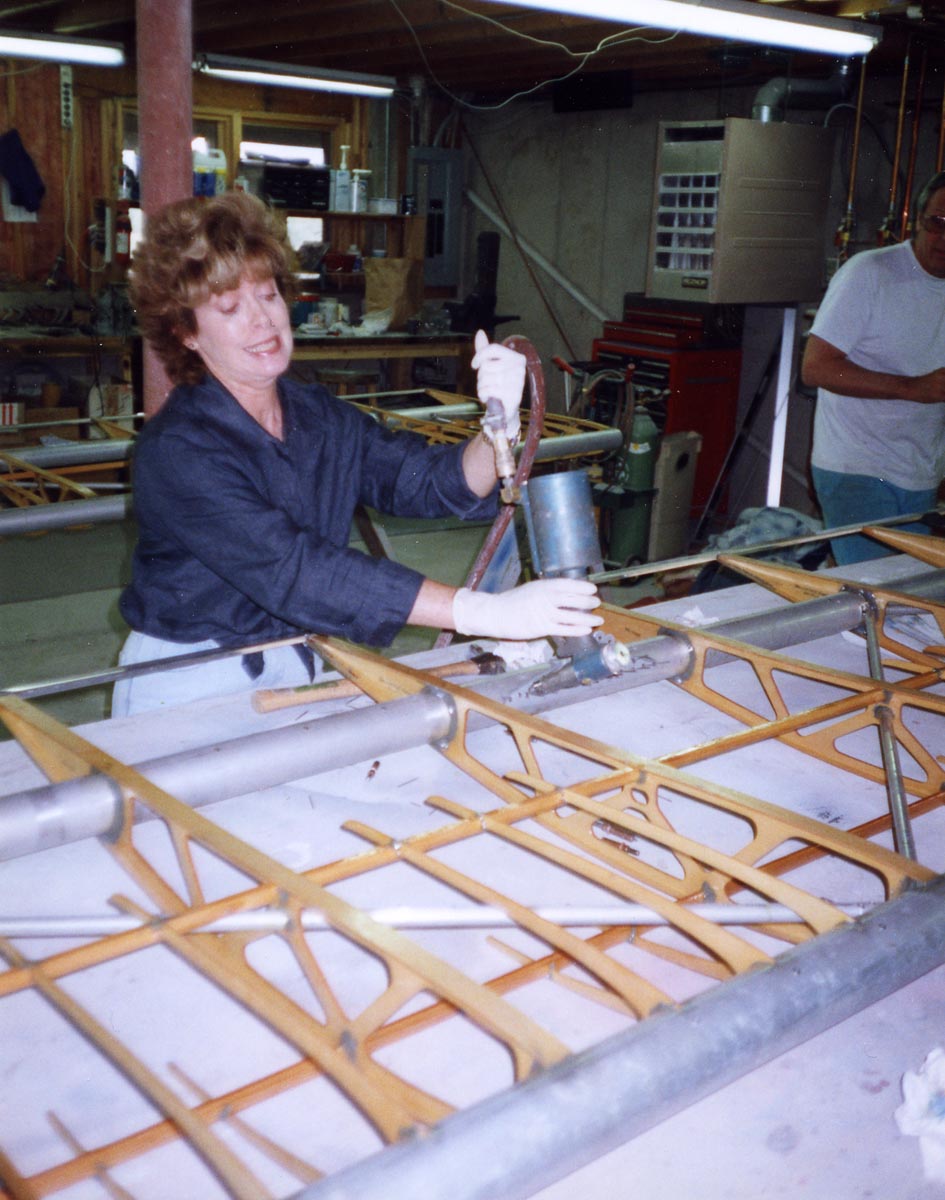
Joan got her share of hands on experience with the riveting gun glue guns. |
  The
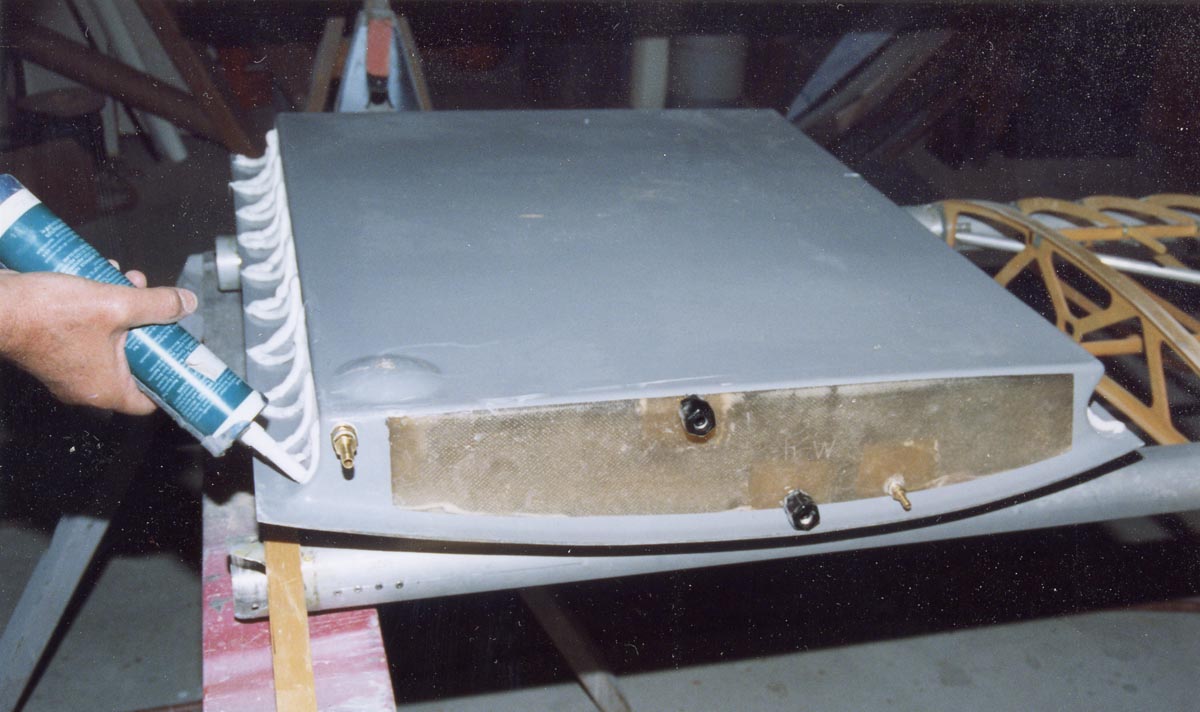
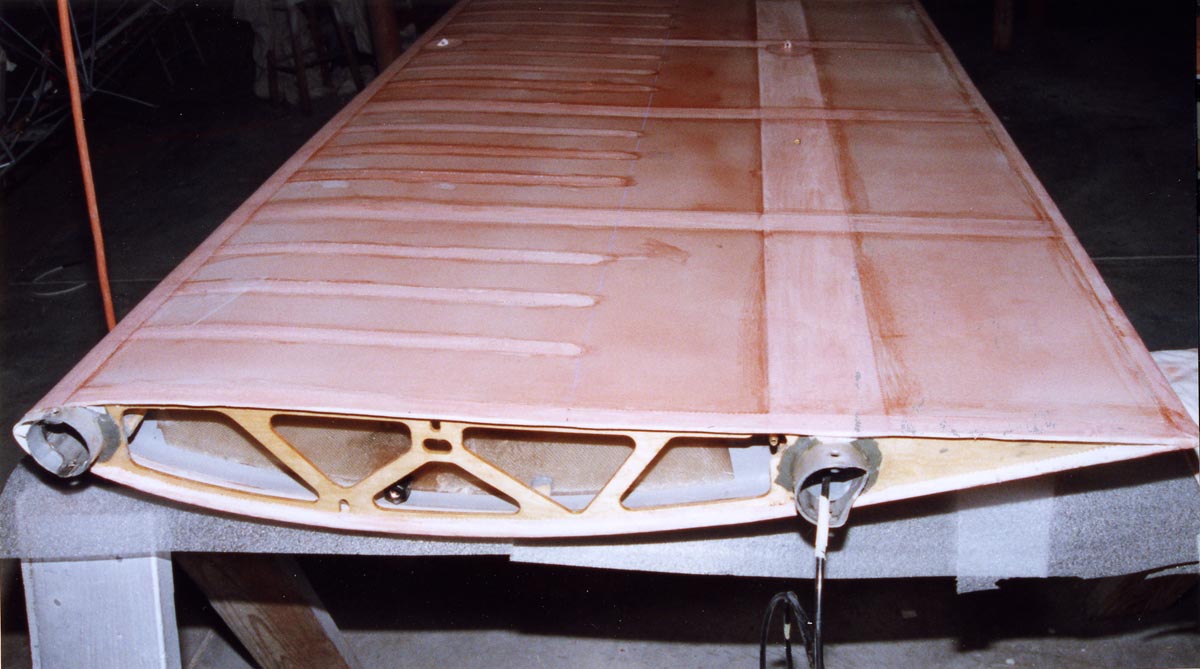
Kitfox offers various size tanks. I did not want to limit myself so I ordered the largest 13 US gal fiberglass tanks
- one for each wing. Before
the tanks could be installed we had to flush it vigorously on the inside as
it was coated with a lacquer that tended to detach itself in flakes later
when coming in contact with automotive gasoline. Naturally this is
easier to do before installation. The
Kitfox offers various size tanks. I did not want to limit myself so I ordered the largest 13 US gal fiberglass tanks
- one for each wing. Before
the tanks could be installed we had to flush it vigorously on the inside as
it was coated with a lacquer that tended to detach itself in flakes later
when coming in contact with automotive gasoline. Naturally this is
easier to do before installation.
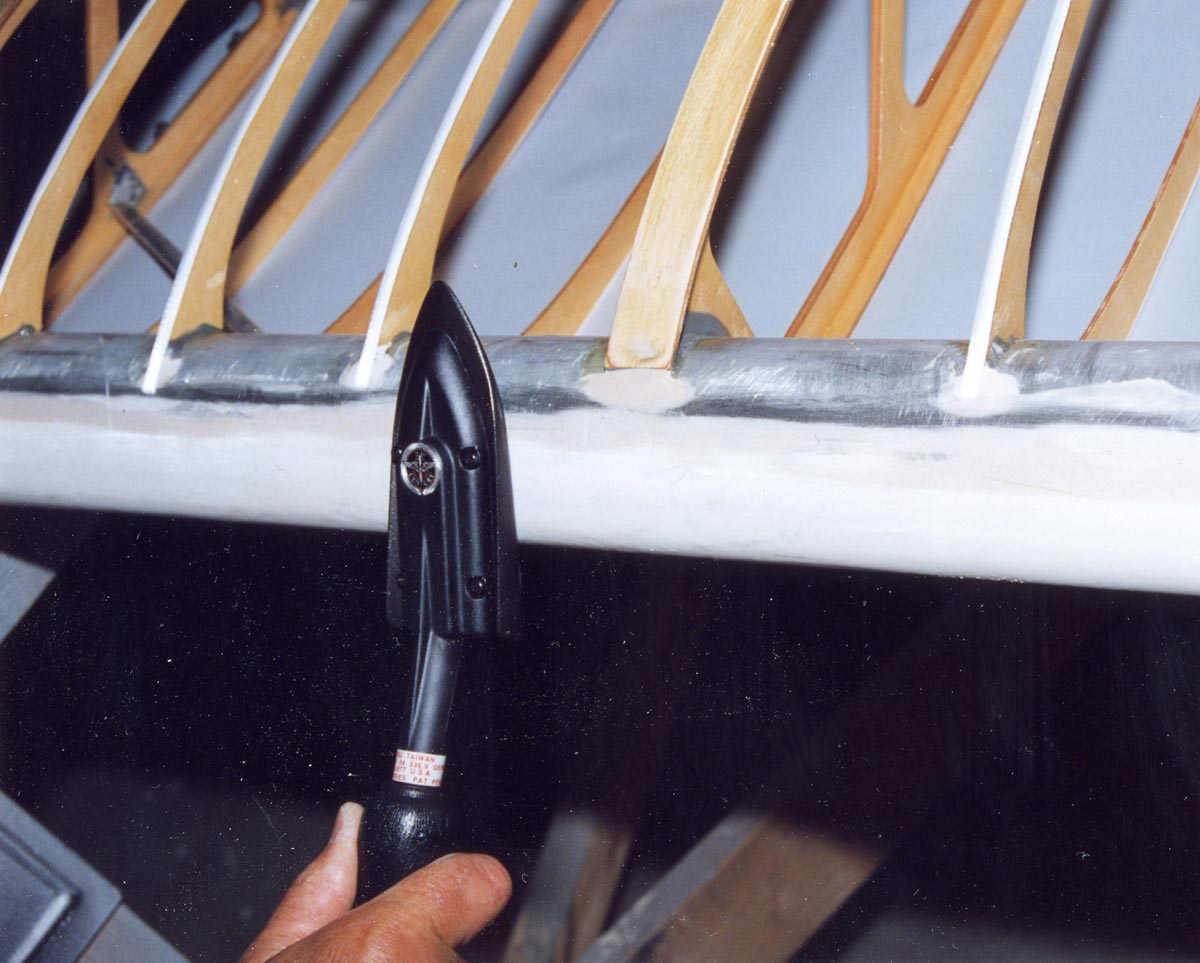
To give the wing a natural appearance, false riblets were glued onto the tank. All this work was a two person job, as it involves frequent flipping of the wing. Then the flapperon fasteners and the electrical wires for the landing and position lights had to be added. |
  Before
covering the wings with fabric, the attachment holes and mounting geometry
had to be established by mounting the wings and struts to the fuselage. Before
covering the wings with fabric, the attachment holes and mounting geometry
had to be established by mounting the wings and struts to the fuselage.
Only then could the covering of the wings take place. Fortunately the wing ribs are designed with a glue strip which does not require the time consuming stitching on of the fabric.
|
|
� At 225�F
(152�C)
only the Poly-tack is melted, no shrinking is taking place .
� � Second shrinking at 325�F (163�C)� Third shrinking at 350�F (177�C)
Use Poly-tack with small iron at 325�F to smooth the fringes of the zig-zag cut edges. Never stop - it will burn holes into the fabric!
|
 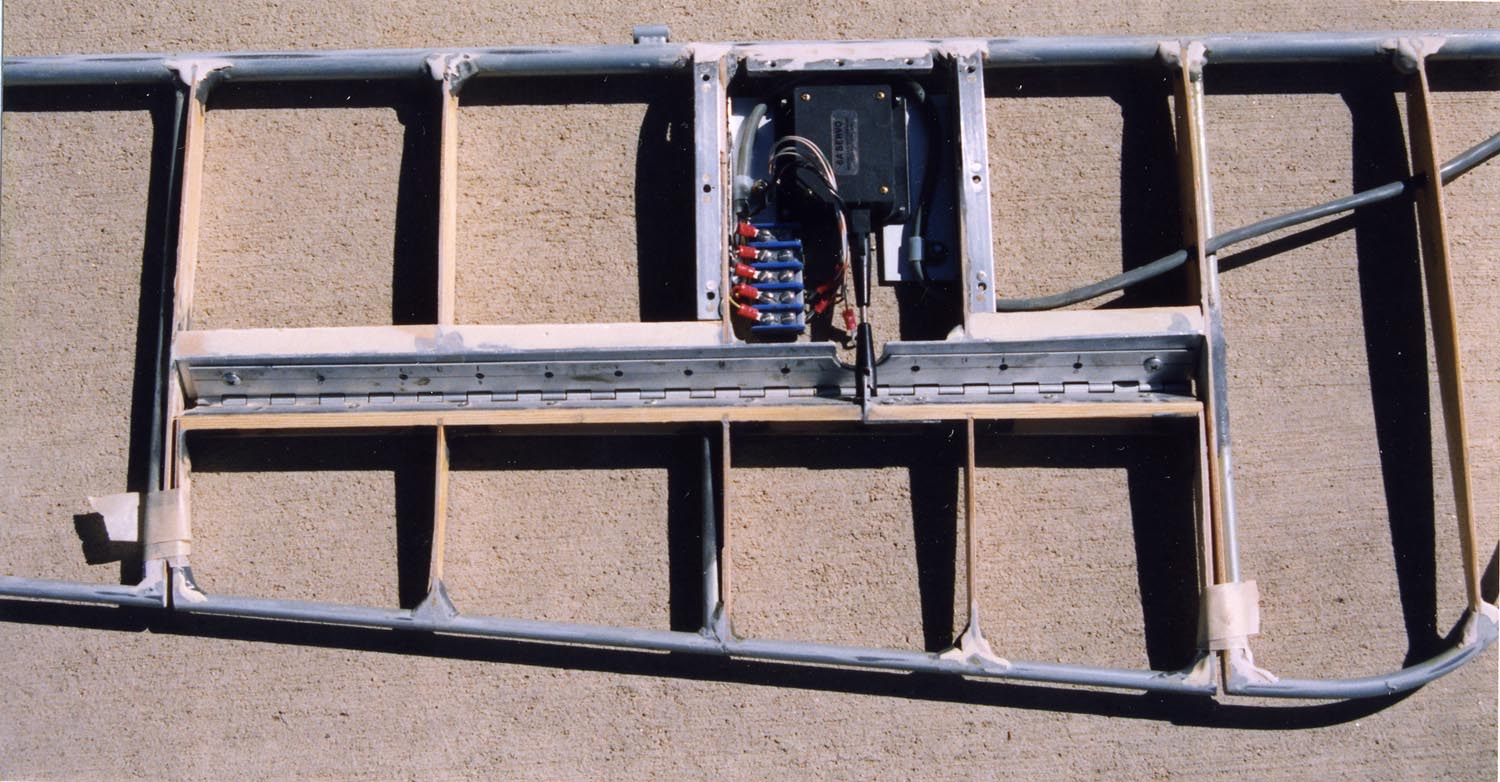 The
horizontal stabilizer is usually an easy job with one exception. I wanted an electrical trim
servo installed. After some designing on the computer, I had a design
which could be incorporated. The
horizontal stabilizer is usually an easy job with one exception. I wanted an electrical trim
servo installed. After some designing on the computer, I had a design
which could be incorporated.
|
|
For further information select from the directory at the top right Contact address is [email protected] This page was last maintained 2.9.2008 |